Editing a Basic Page
Add Hero Banner (Optional)
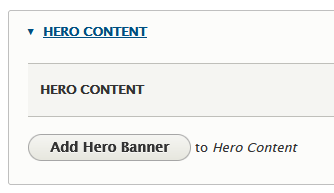
By default, NEW pages will NOT contain a hero banner image at the top of the page. To add an image, click the "Add Hero Banner" button.
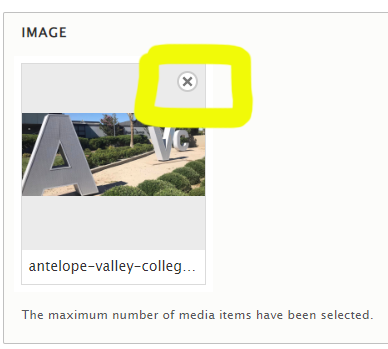
After clicking the Add Hero Banner button, the default hero banner image will automatically be assigned to your page. To add a custom image (1440px wide by 650px tall)*, click the "x" button (shown below), locate your custom image and insert.
*Important Note: If you've used Custom hero banners in the past and would like them on the new website, they will need to be updated to the larger 1440x650px size to avoid stretching and appearing blurry. Please submit a Website Support Ticket if you're needing assistance.
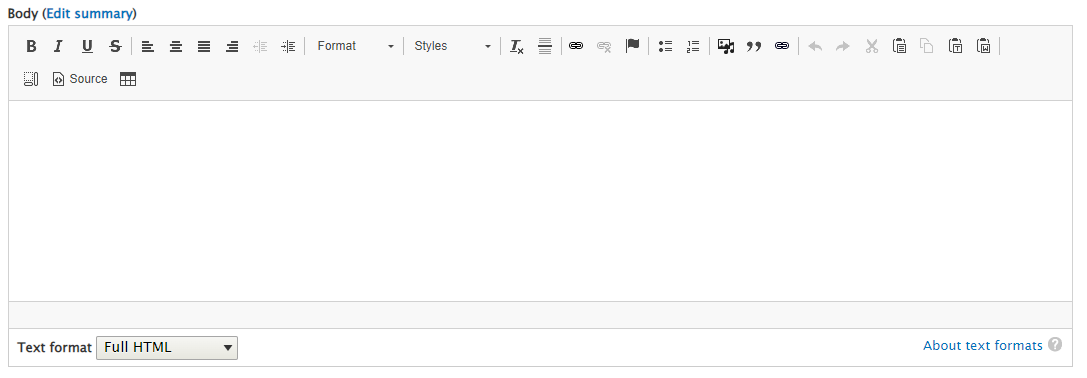
Body Content
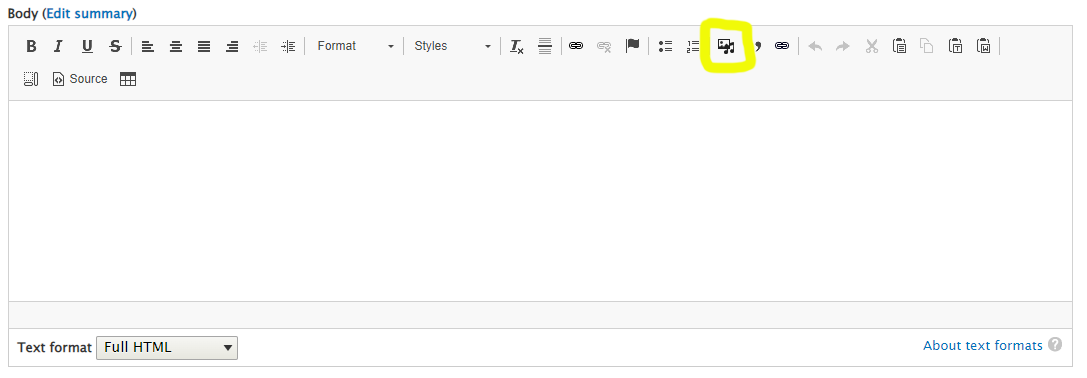
The Body content editor has remained relatively unchanged. The biggest update is to the "Image Upload" tool (highlighted below):
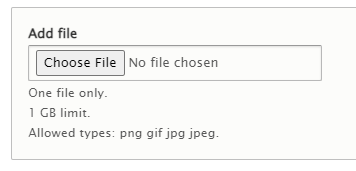
To add an image to your page, click on the "Image Upload" icon (highlighted above). A new window will pop up. Click the "Choose File" button to locate your image.
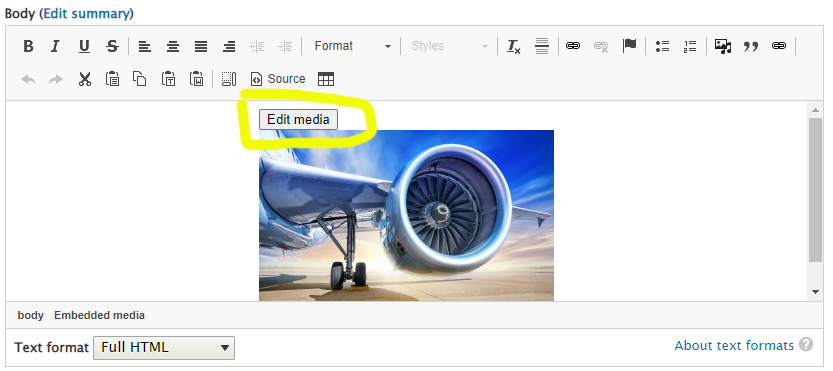
After selecting your image, you'll be prompted to add the Alt tag information. Give your image a good description. Do NOT add images that contain a large amount of text (this helps ensure your images are ADA compliant). Insert your image into the page.
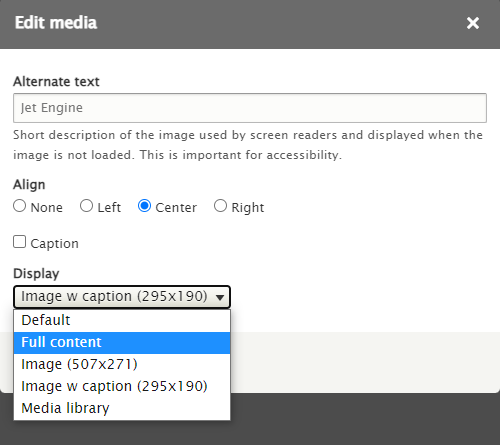
Optional: Click on the "Edit Media" button to adjust your image's size and positioning, if needed.
Generally, the "Full Content" sizing option is best for most images (this option will scale your image to its full width and will automatically resize when viewed on a phone).
Save your page as "Published" to push your updates live, or save as "Draft" to notify your Department managers that pending edits need review.